Back at school, the weeks are whizzing by and we are in the full blow of autumn. Haven’t we been blessed with the most gorgeous days ? Now is the time to celebrate seasonal fruit and vegetables and the wealth of variety they bring to… Read more
Back at school, the weeks are whizzing by and we are in the full blow of autumn. Haven’t we been blessed with the most gorgeous days ? Now is the time to celebrate seasonal fruit and vegetables and the wealth of variety they bring to… Read more
I hope had a lovely summer and got to sample many of the amazing foods mother nature had on offer for us! Now with autumn approaching we can expect more richness and deep colours not only our plates. If you take a walk through London’s… Read more

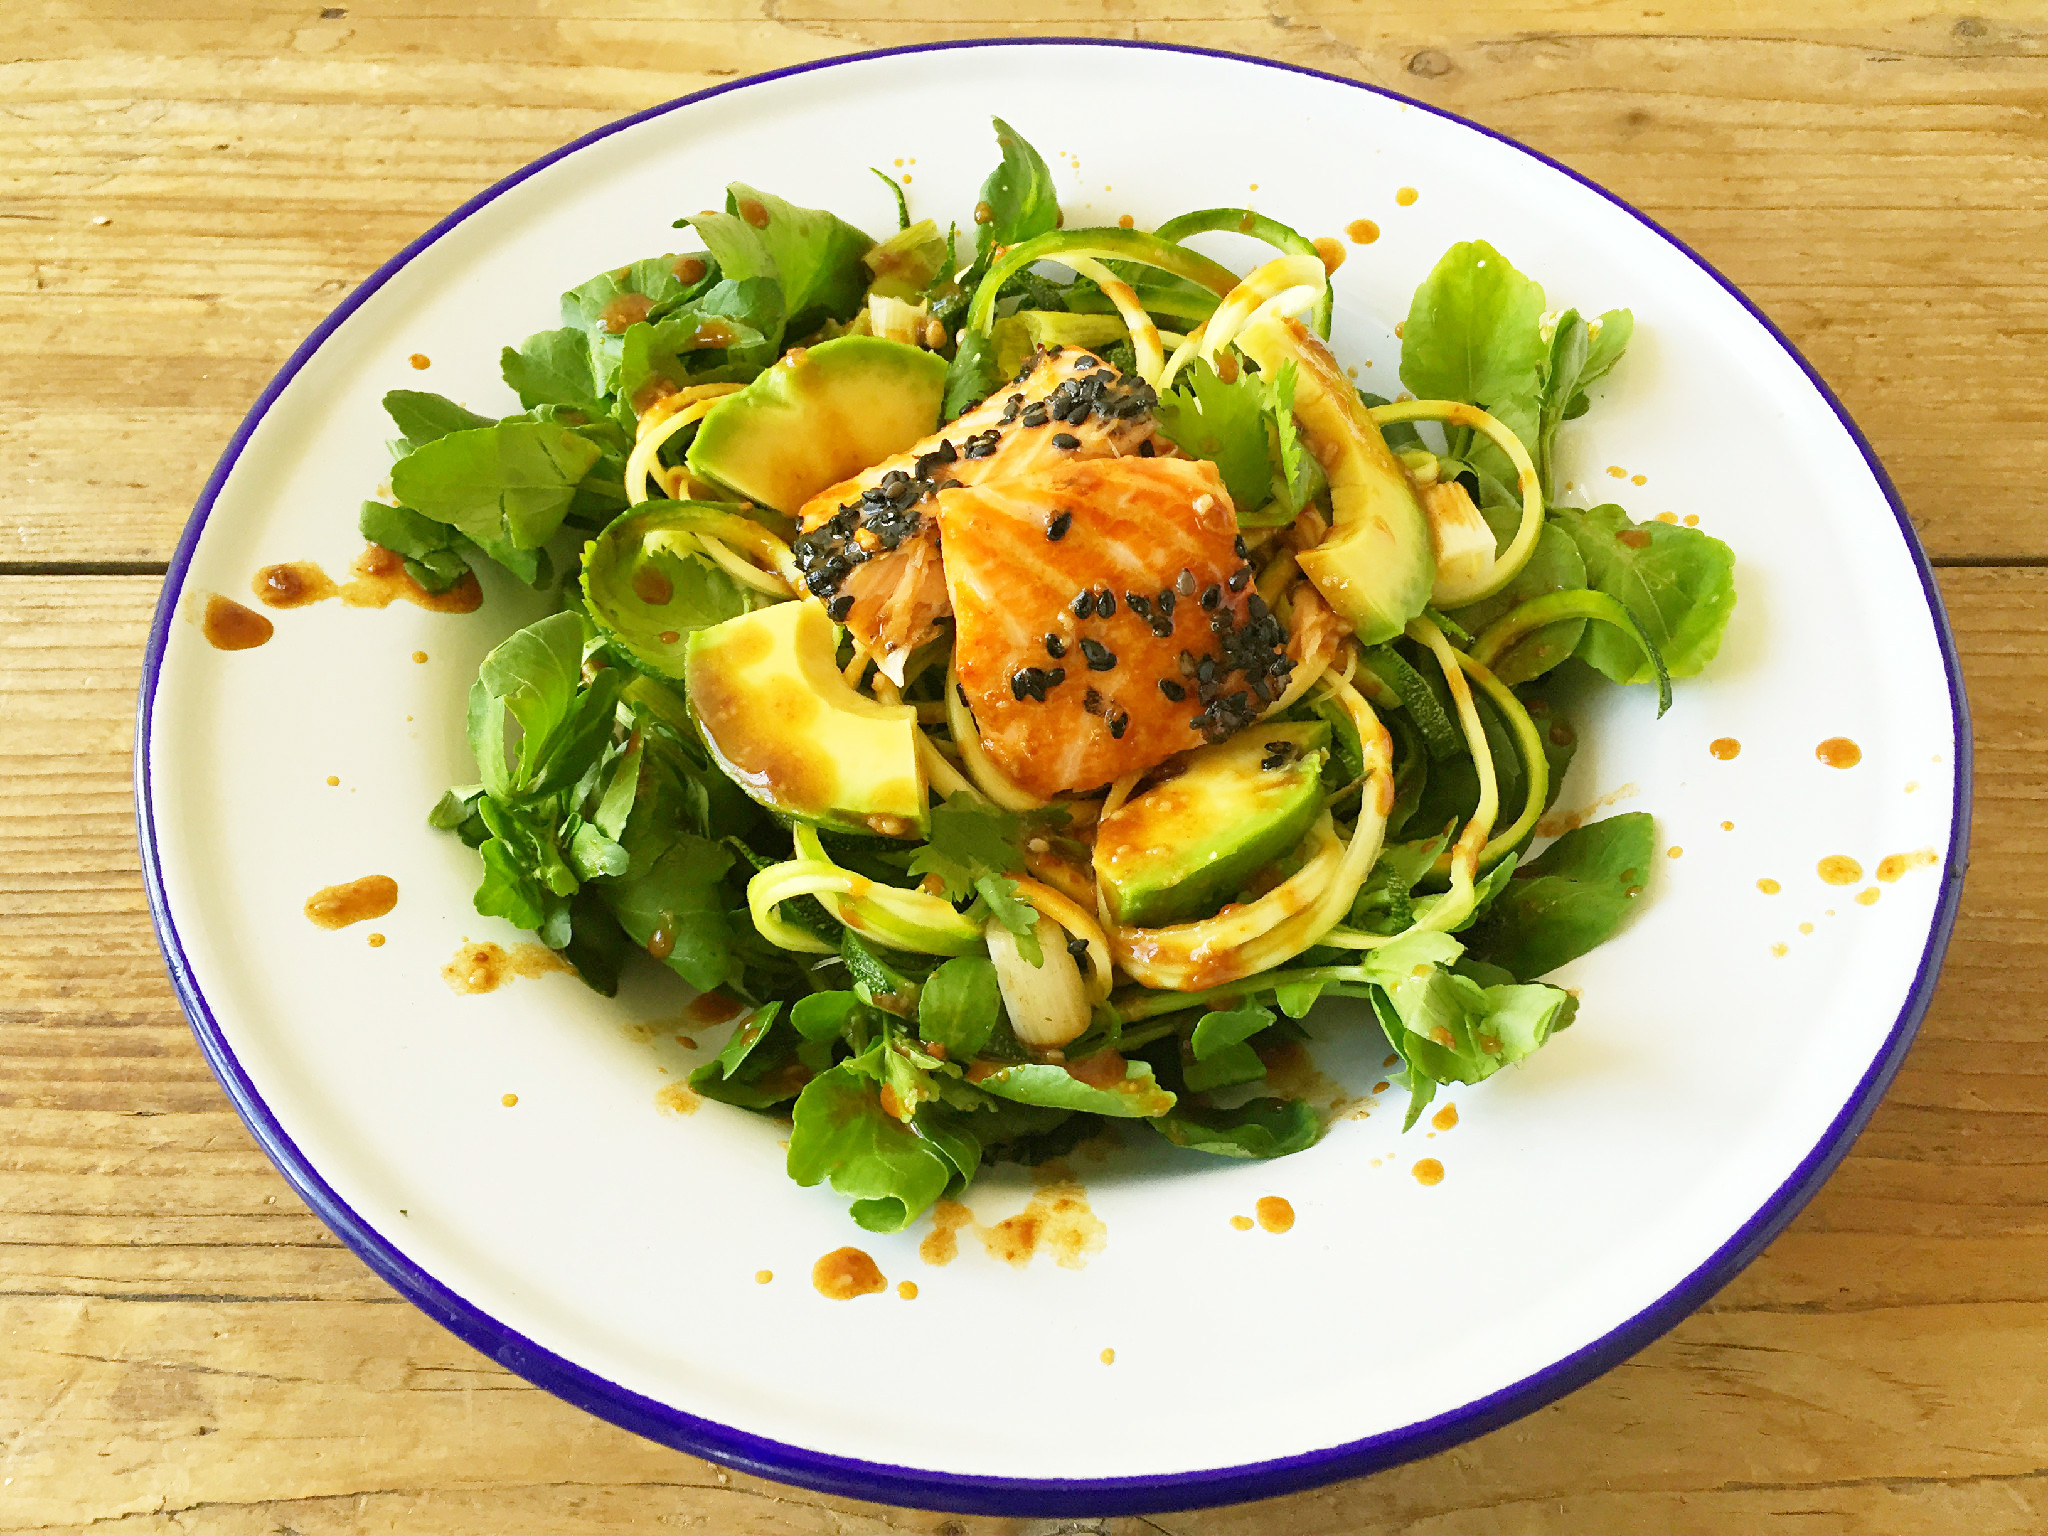
Courgetti salad with organic salmon and avocado – serves 2-3
200-300g of organic salmon
2-3 medium sized organic courgettes
2 spring onions
1/2 bag of fresh garden peas ( 1/2 cup per person)
2 ripe avocados
1-2 bags of Rocket, watercress or green salad of your choice
100-150g of brown rice vermicelli noodles ( 50g per person) – optional
A small bunch of coriander
For the marinade:
a small knob of fresh grated ginger
1/2 tbsp of brown rice miso paste
3-4 tbsp of tamari sauce
1 tbsp black sesame seeds
Dressing:
1 tbsp of tahini
1 tbsp of tamari sauce
1 tbsp of rice vinegar
2-3 tbsp of sesame oil
1/2 tsp of rice miso paste
1/2 clove of garlic & small piece (1cm) of ginger – grated or crushed with garlic press
Method:
Start with marinating the salmon, for a more intense flavour this is best done a couple of hours before cooking. It still works making it straight away, so don’t worry if you don’t have hours for marinating. Simply mix the marinade ingredients well and pour over the salmon, turn the salmon a few times, so every part has been covered with the marinade. It is best to use a casserole dish you can bake the salmon in later on. Cover and keep in the fridge until you are ready to bake it in the oven.
Pre-heat the oven at 180C, cover the casserole dish with tin foil before baking to keep the salmon moist, but make sure the foil does not touch the fish. Depending on the size and thickness bake for 15-20minutes or as instructed on the packaging.
Next prepare the dressing, simply put all ingredients in a jam jar, close lid tightly and shake until everything is mixed well.
Whilst the salmon is baking in the oven prepare the rest of the ingredients, slicing the spring onions and avocado, sprinkle some lemon juice on the sliced avocado, so it doesn’t turn brown.
You will need a spiralizer for the courgetti, but if you don’t have one, you can simply use a vegetable peeler and create courgette sheets.
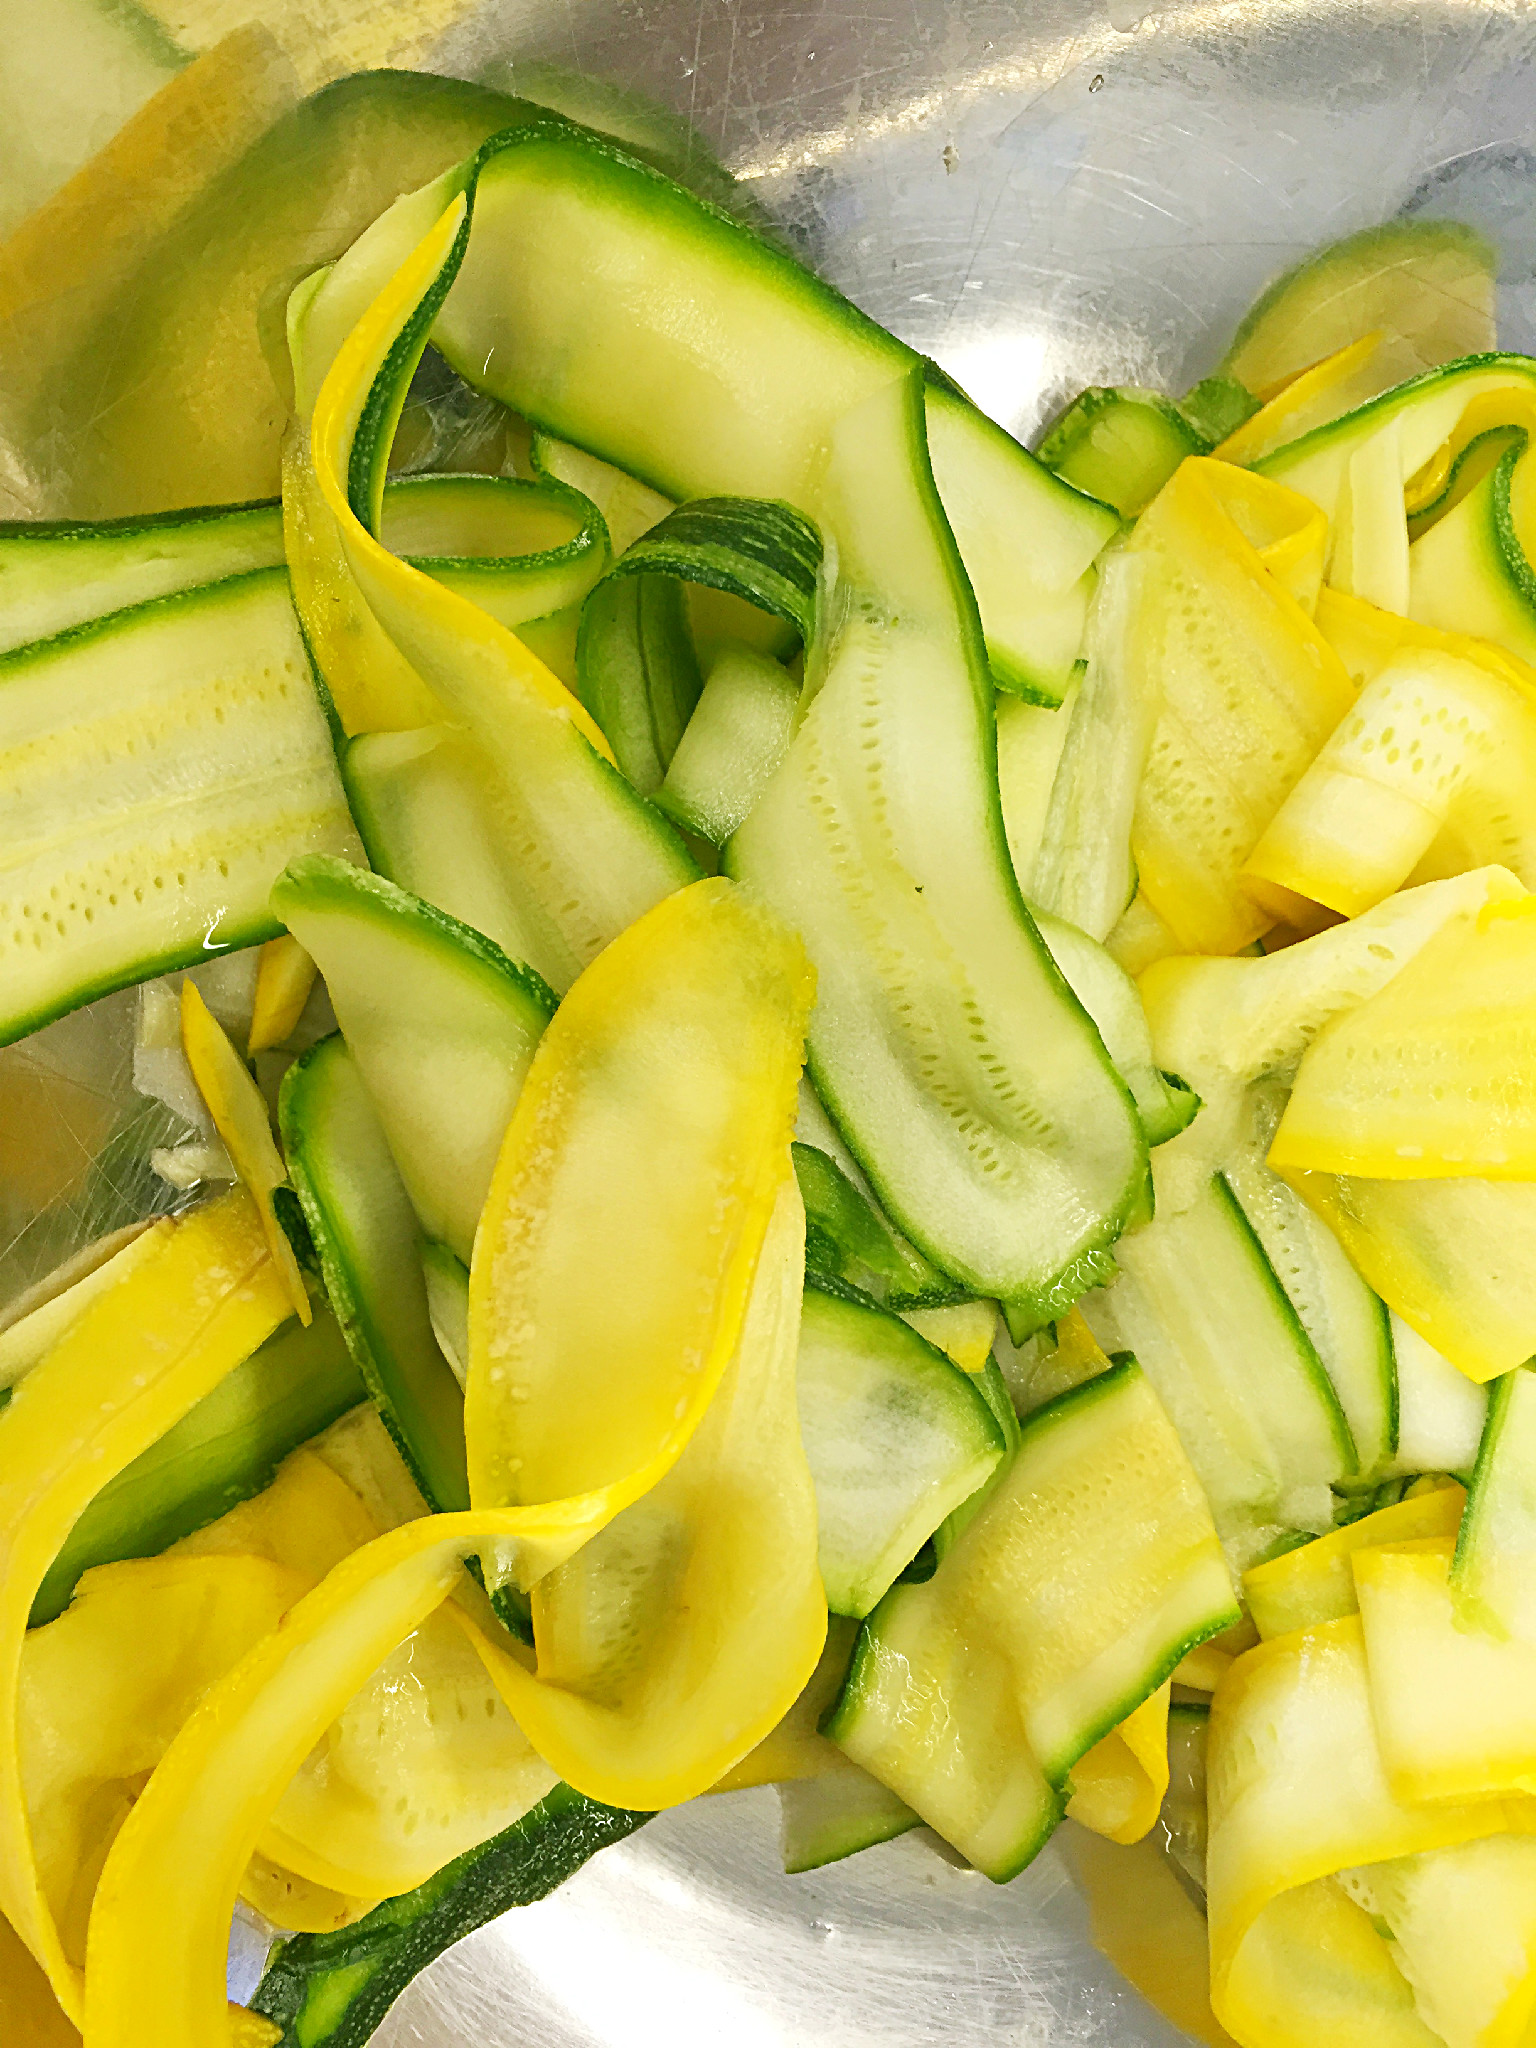
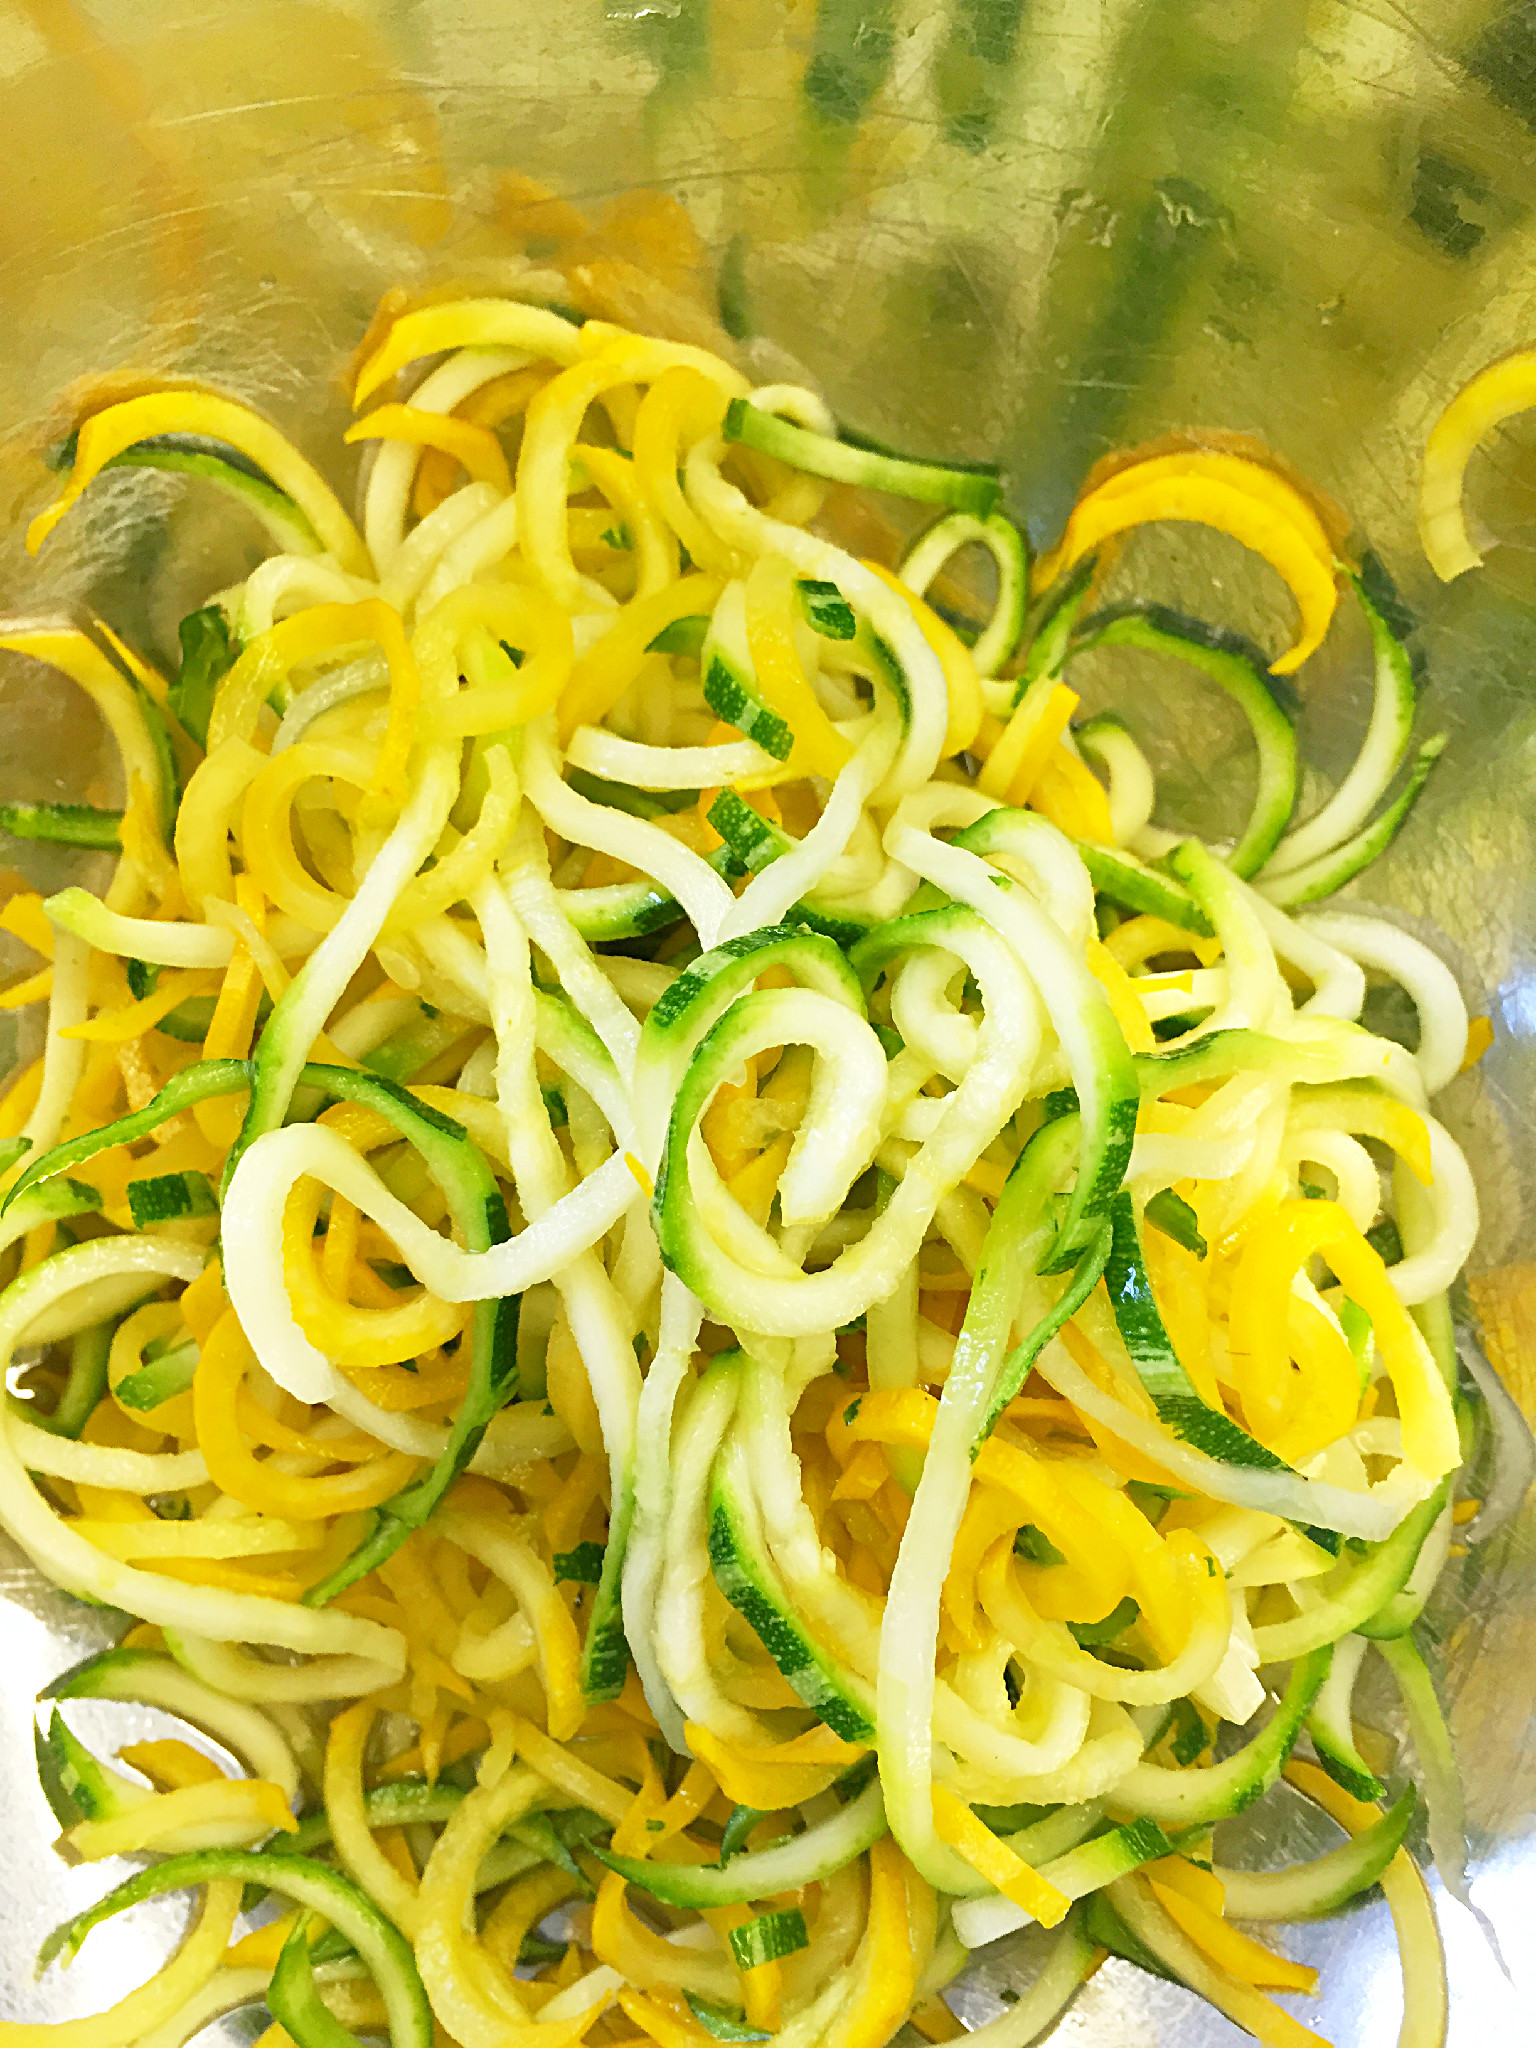
Wash well before spiralizing the courgette including skin, which is the antioxidants rich part. If you would like to have the courgetti raw, then sprinkle with a pinch of sea salt and the juice of half a lemon and mix well, this may help to digest them easier. Otherwise steam together with the garden peas or warm up in a lightly oiled pan together with the spring onions, just before serving.
If you are adding the vermicelli, prepare them just before serving, they don’t take long, just follow the instruction on the packaging, which can vary.
Once the salmon is ready start preparing the plates, first create a salad bed, then top with courgetti, vermicelli, spring onions, garden peas, avocado and coriander, finally add the dressing- serve warm or cold.
Bon Appetit !

I am on the final leg of my assignment prep or I should probably say I am on my last leg, as the study load is really taking it out of me. With next to no time to cook I am practically living of smoothies… Read more
This spring has been a bit up and down and all around. One day it’s hot, the next freezing cold and the heating needs to go back on. The following morning you are looking for your flip flops and in the afternoon you find yourself… Read more

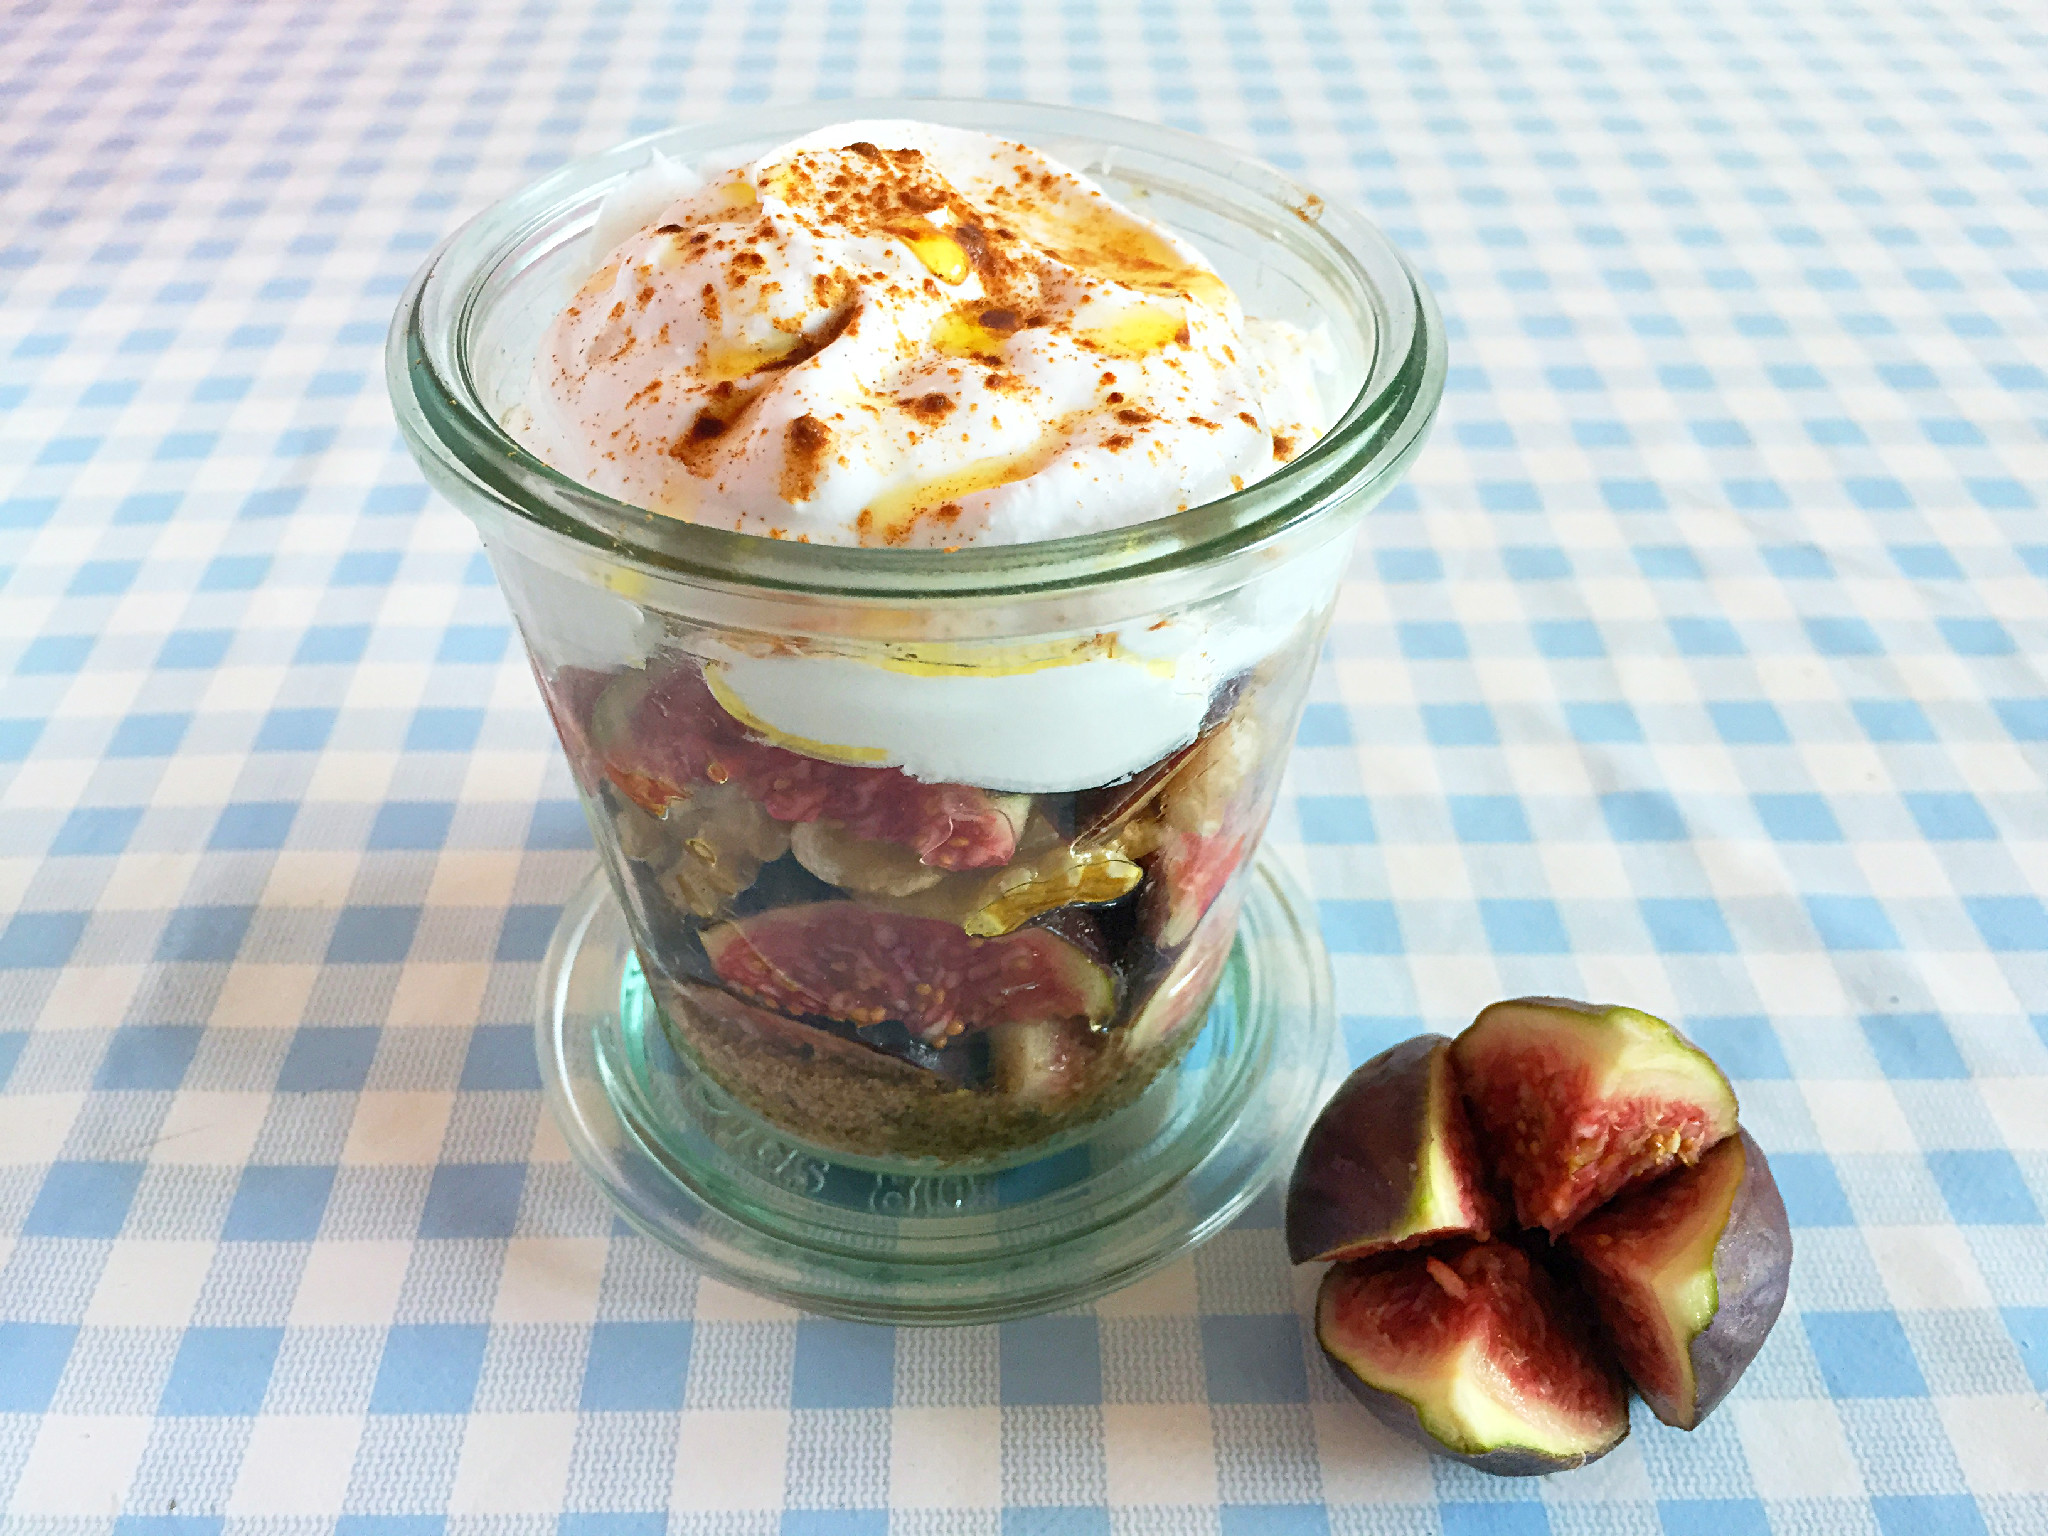
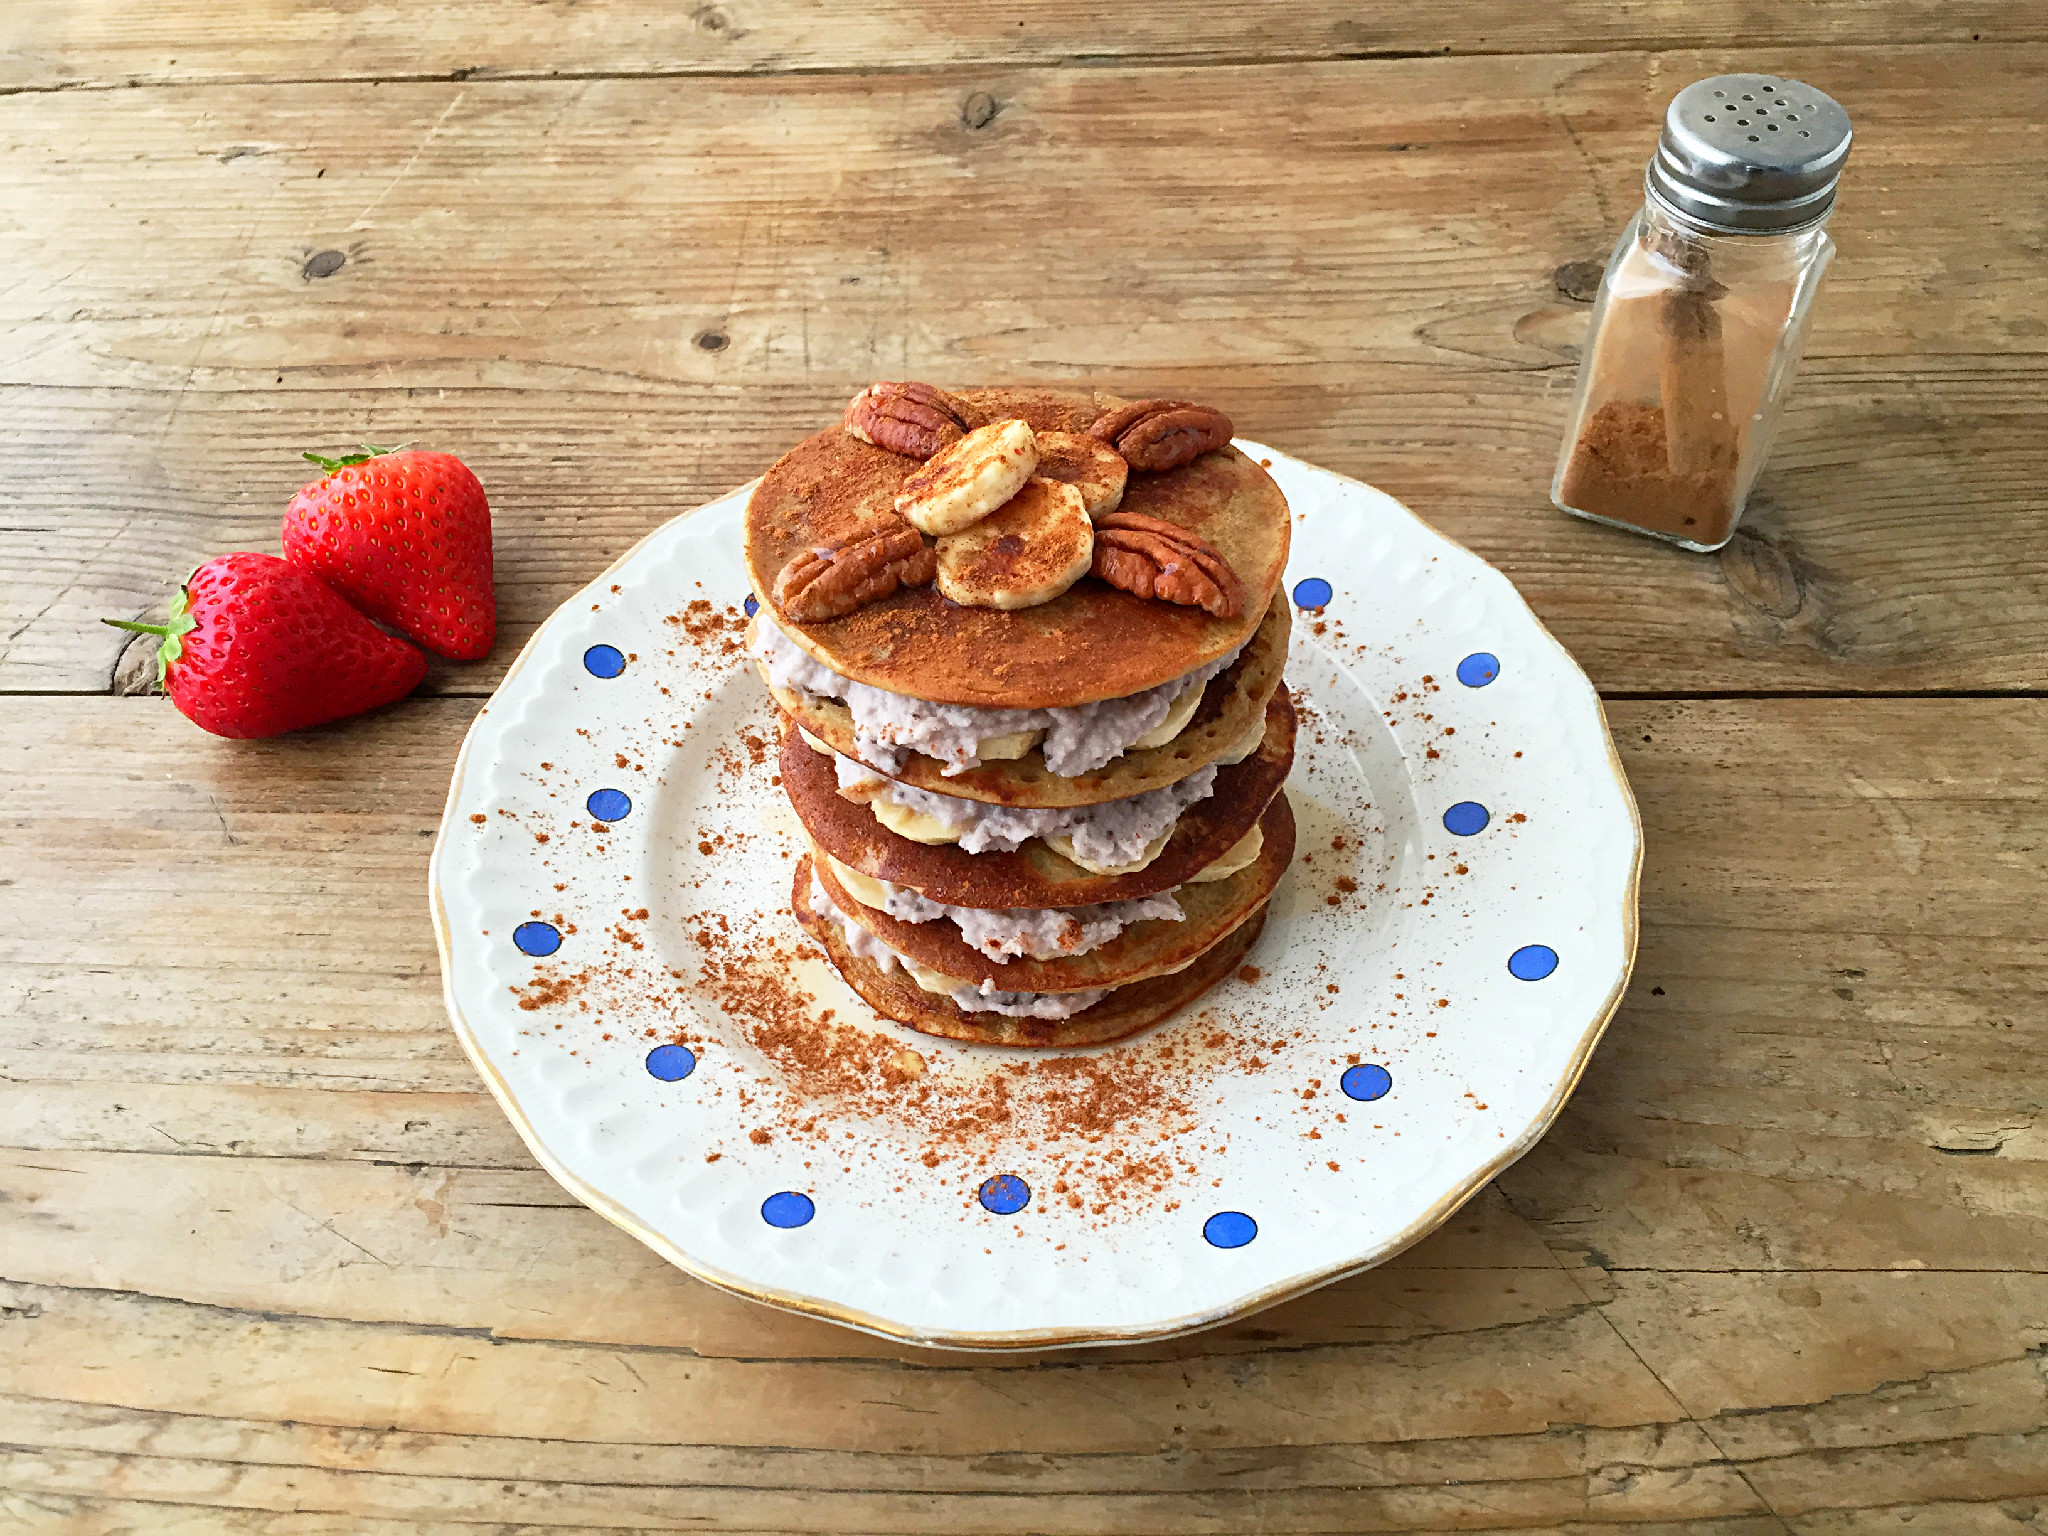
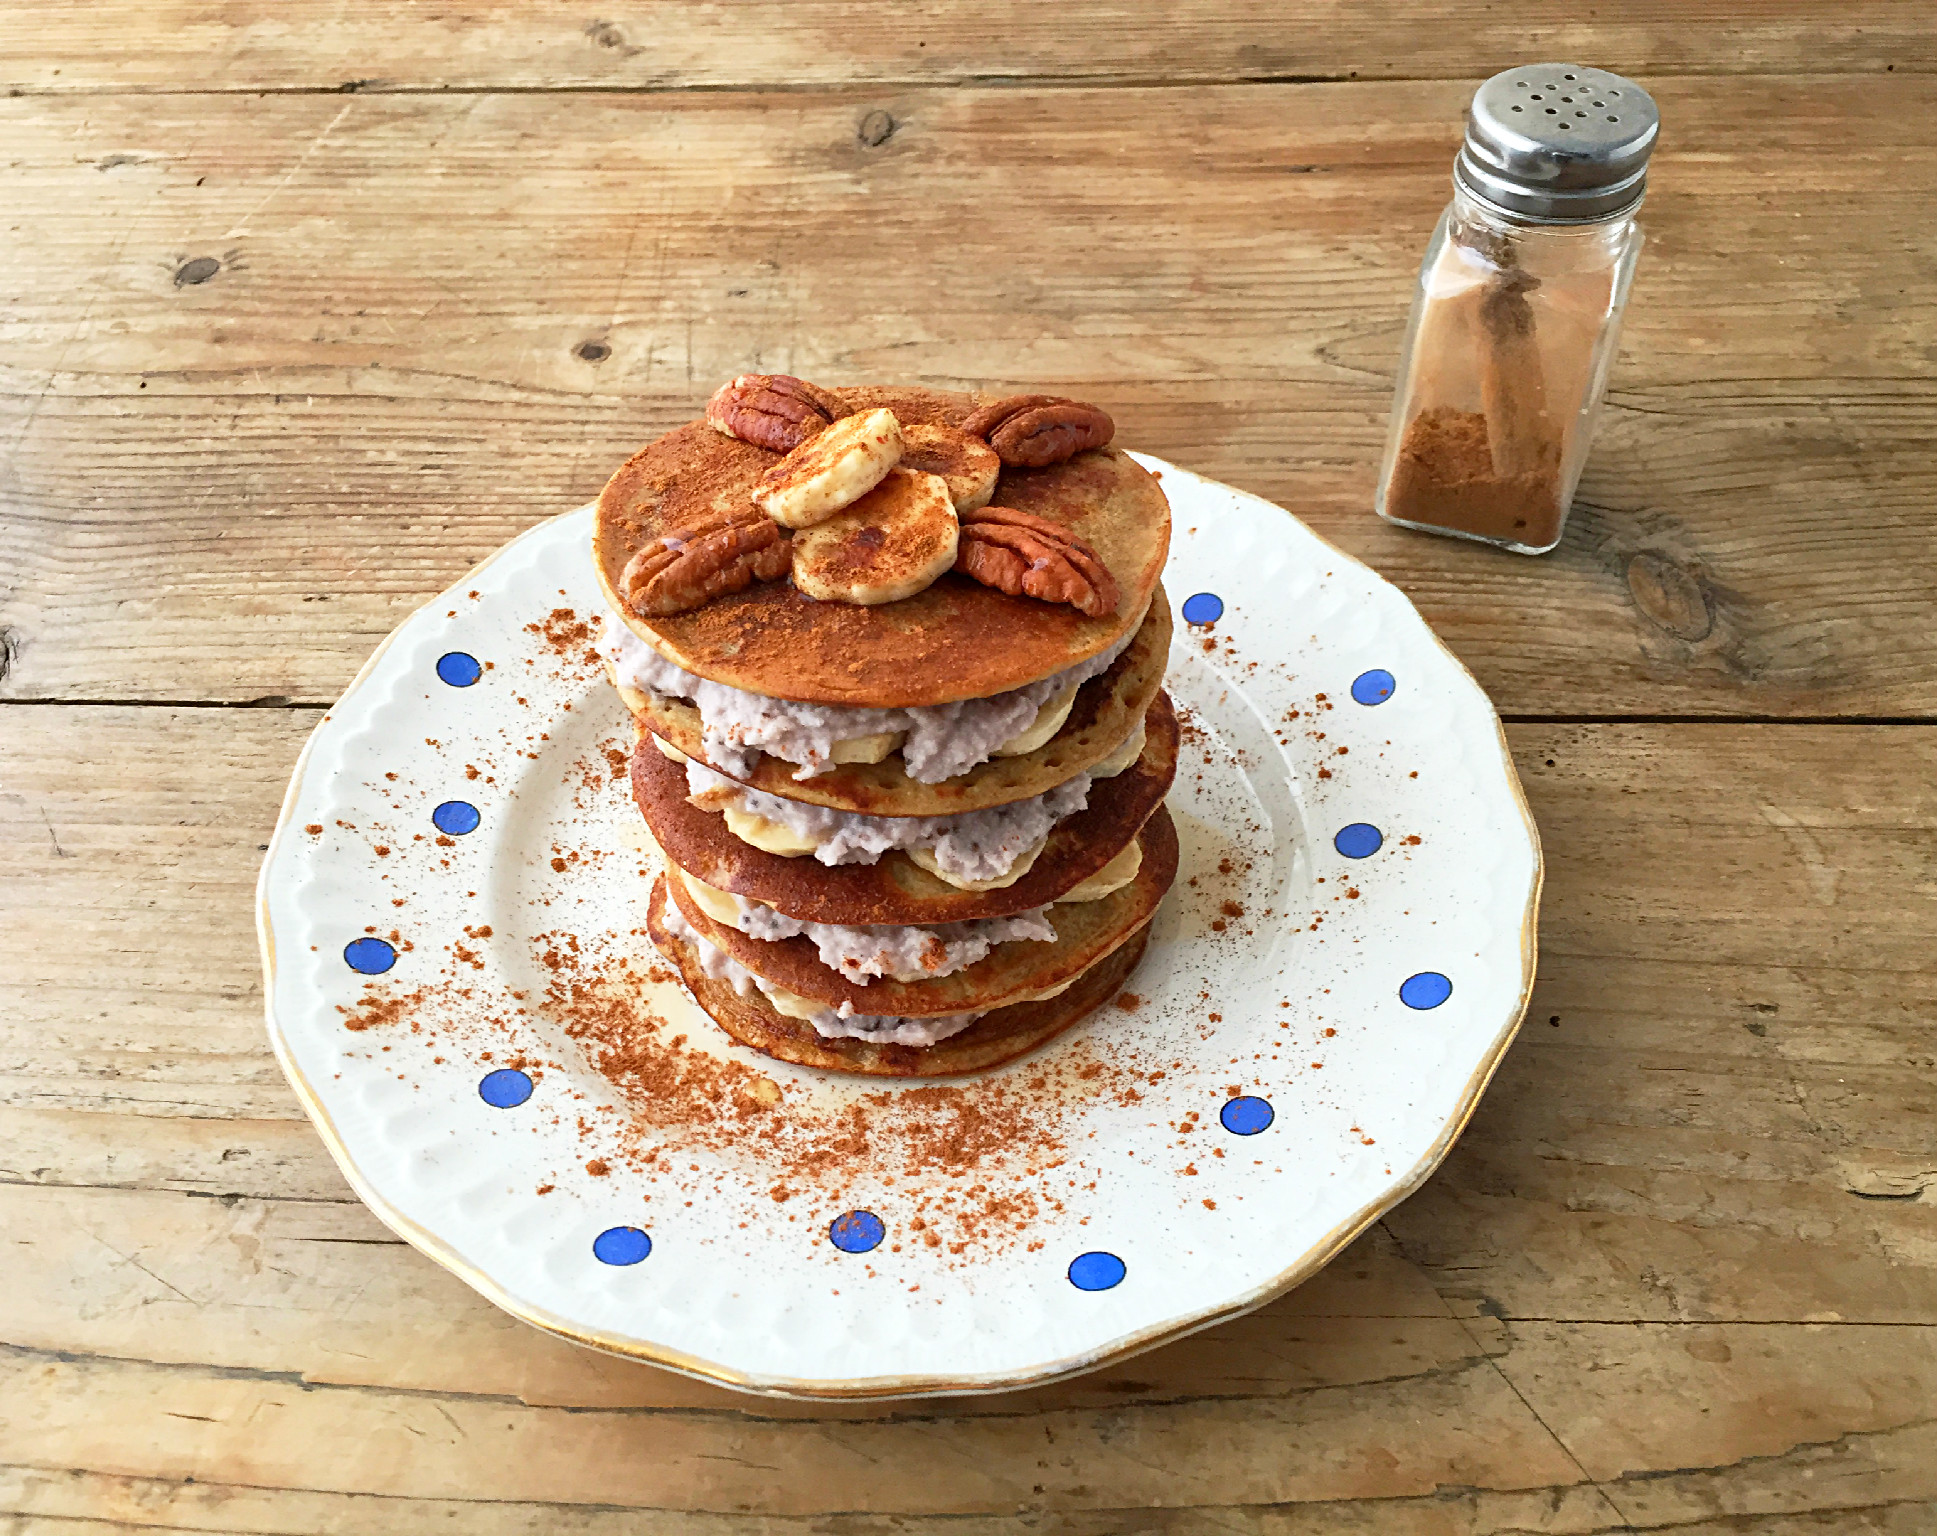
Gluten free mini banana pancakes – makes 12
80g of organic oat flour ( simply ground oats in a coffee grinder)
50g of organic buckwheat flour
1 tsp of baking powder
120 ml organic nut or rice milk
4 small ripe fair trade organic bananas (2 for the pancake & 2 to garnish)
2 medium sized eggs
1 tbsp of coconut oil
2 tbsp of maple syrup plus some extra to garnish
A pinch of salt, a dash of cinnamon and a handful of pecan or peanuts to garnish
Coconut & banana cream (optional)
1 cup of fresh coconut or one coconut yogurt
1 small organic fair trade banana
1 tbsp chia seeds
1-2 tbsp nut milk
A squeeze of lemon juice
If you want to add some extra banana flavour, start off with making a quick coconut & banana cream. Just put the 1 cup of fresh coconut, one small banana, a squeeze of lemon juice, 1 tbsp of chia and 1 -2 tbsp of nut milk in the food processor and blend until smooth. If you don’t have fresh coconut you can use 1 small tub of coconut yogurt instead, there won’t be any need to add nut milk for that one. Once blended, leave to set in the fridge for about 20 minutes. You can either add it on each serving or spread some onto each layer of the banana tower.
For the pancake mix sift flour, salt and baking powder into a bowl. Next, whisk milk, eggs, oil and maple syrup together and pour into the flour mix, then add the mashed bananas and beat until you get a smooth batter. The easiest way to do all this is to put all ingredients into a food processor or blender and blend until smooth, that way you ensure everything is mixed together well.
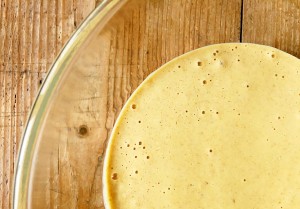
Leave the mix to sit for 15 minutes, you will see how it thickens and produces air bubbles.
Cut a couple of bananas into equally slim slices and set aside, you will need these to layer your pancakes as you stack them into a small tower.

Next heat a small frying pan with a little coconut oil, add the first ladle of batter and cook until the top of the pancake starts to bubble, now it’s time to turn it over. Cook both sides until golden brown. Keep the temperature at medium heat to prevent burning the delicate pancake whilst it is cooking through.
Have a ‘pretty’ looking plate ready for the first pancake and whilst the next pancake is cooking away, add a layer of banana slices around the outer circle, here you would add the coconut banana cream layer as well. Carry on until you get until the 6th or 7th pancake before getting the next plate ready and repeat the process. This all depends on how many hungry mouths you have to feed.
The final layer of each pancake ‘tower’ can be decorated with more banana slices or strawberries are pretty delicious with this combination, then add pecan nuts and a drizzle of maple syrup or honey as a final finish – a real rainy day breakfast, any day dessert or afternoon treat.

Summer rolls are pretty much my favourite starter, they are super tasty and really easy to make, that is once you got past the slight fear of rolling greens in a very delicate piece of rice paper. It actually is not that delicate provided you… Read more

Summer rolls – makes 12
12 round rice paper wrappers
100g brown rice vermicelli noodles
1 bunch of fresh coriander
1 bunch of basil or Thai basil
1 bunch of fresh mint- leaves only
1 bag of watercress, iceberg lettuce or bok choy- finely cut into strips
6 asparagus sticks- finely cut into 10cm strips and blanched
1 large carrot- roughly grated and blanched
1 cup of shredded red cabbage – blanched
1 bunch of spring onions- finely sliced
1 cup of fresh or roasted peanuts, cashew & pecan – chopped finely
1 ripe avocado- thinly sliced
50g alfafa sprouts ( or sprout mix of your choice)
Hoisin Sauce – 100ml
1 small cup of organic tamari or gluten free soy sauce
1 tbsp of peanut butter ( you can use tahini if you are allergic to peanuts)
2 tbsp of agave; maple syrup, honey or molasses
1/2 small cup of rice vinegar
1 finely shopped or grated clove of garlic
1 tbsp of sesame seed oil
1/2 tsp fresh hot chilli finely chopped- careful don’t make it too hot
Chili & Ginger dipping sauce- 50ml
2 small cloves of garlic finely chopped
1 tbsp of freshly grated ginger
1 tbsp of maple syrup
3 tbsp of fish sauce ( vegan version use algae blended/soaked with water)
1/2 tsp of hot chili or less careful with the heat
juice of 1 lime
Method:
It’s best to start with making the sauces, so you can start eating as soon as you have made your first roll. The Hoisin sauce involves some cooking the Chili&Ginger sauce is made rather quickly, so best to make that whilst the Hoisin is simmering away.
For the Hoisin sauce take a small pot, add all ingredients, bring to the boil,then turn down the heat and leave to simmer until reduced by 1/4- stir well so the peanut butter completely dissolves. Keep an eye so it doesn’t burn. Once you have a nice and thick sauce fill into a jar and leave to cool.
For the Chili & Ginger Sauce, simply add all ingredients into a jar, close tightly and shake well, done.
For the summer rolls start with putting the rice noodles in a glass bowl, cover with boiling water and leave to soak for 5 minutes. Best to cover the bowl with a plate to keep the heat inside. After 5 minutes rinse with cold water and set aside.
Next, cut your greens in a string like way- maximum 10cm length- that way they you can create rolls of a similar length. Blanch the shredded /grated cabbage and carrots, that way they are easier to digest and will not be as hard. Simply cover with boiling water for 2-3 minutes and drain and rinse with cold water, do the carrots separately as the red cabbage will leak quite a bit of colour. Repeat the blanching process for the asparagus and any other cabbage types or broccoli in case you are using that.
It will be best to prepare a plate with all ingredients so you are ready to fill each roll as you go along. For dinner parties prepare a few plates and bowls and distribute across your dining table, so everyone can access what they need for their rolls.
Once you are ready to make the rolls, dip one of the rice papers in a bowl of cold water, no need to move it around or leave for longer, just make sure it has completely been covered by water for a second or two. When lifting the paper out of the water, leave to drain for a few seconds, so it doesn’t end up being to wet in some places and not in others.
Place a rice paper wrapper on a board and at one end of the wrapper put your ingredients. I usually start with asparagus or cucumber, so I get the dimensions right and add more greens, herbs, sprouts, nuts and some noodles on top, then I put red cabbage and carrots just in the next ‘row’ and fold over the left side, then the right side of the wrapper and tightly but carefully roll up to create a complete roll – done next. Please be careful not to overfill the wrappers, they easily break otherwise. Dip the summer roll into your sauces and enjoy !

The final phase of the current school year has started and time has turned into something rather rare and valuable, the more grateful I am for the invention of smoothies! They go back a long way but it all kicked off in 1933 with the… Read more