Sauerkraut is one of my favourite pro-biotic foods. Being German, I grew up with it, so I guess it’s almost a given. My mum always used to make a delicious sauerkraut and gammon stew with pineapple and caraway seeds. Yes, I know it sounds strange,… Read more
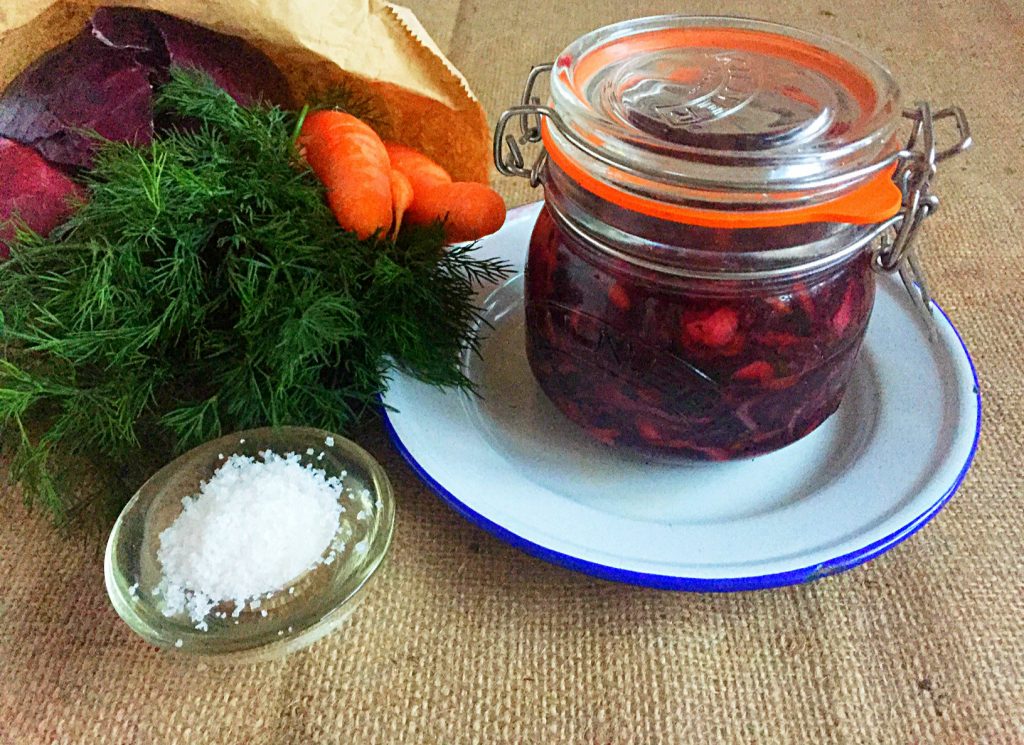
Red Sauerkraut with Beetroot, Carrot and Dill – The perfect nutrient dense, pro-biotic addition to your dishes-all year round.
Ingredients: ideally organic
1 medium sized red cabbage (approx 1Kg)
1-2 beetroot
1 golden beetroot (optional)
1-2 carrots
1 bunch of fresh dill – finely chopped
2-4 tbsp sea salt ( 20g)
Tools needed:
1 large glass or enamel bowl
1 large or 2 small Mason jars ( to sterilise : rinse with boiling water and dry at 80C in the oven)
1-2 small glasses filled with water ( half way)
1- plates
Method:
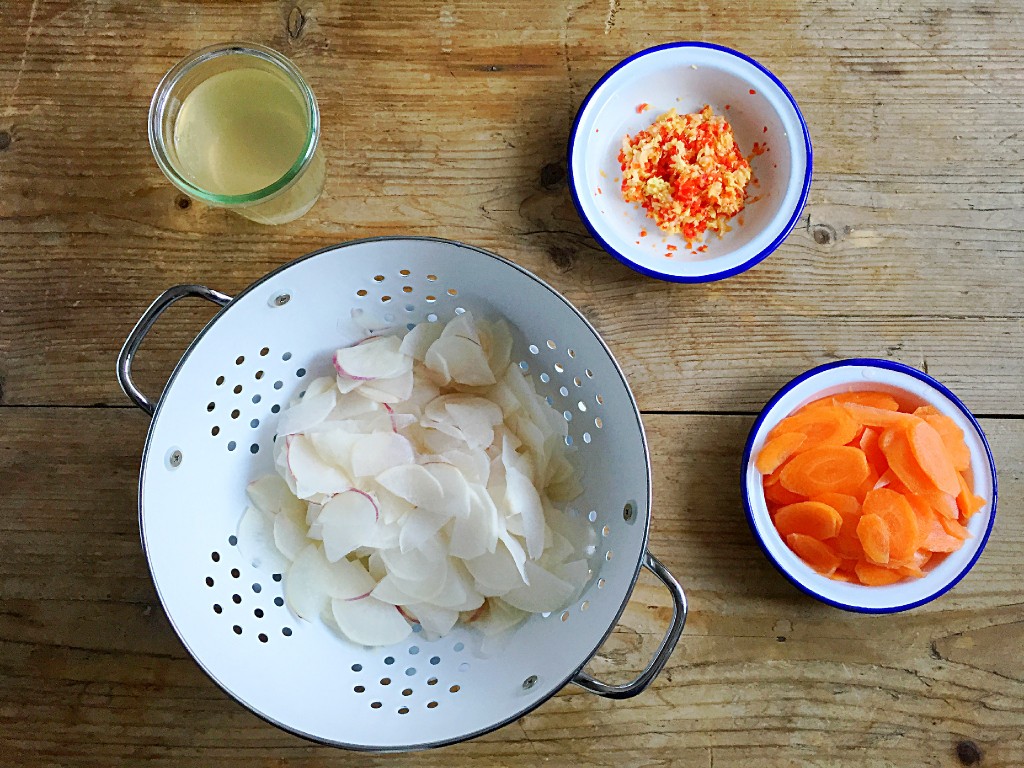
Prepare the vegetables by washing them well. If leaving the peel on the carrots, please use a vegetable brush and make sure there is no soil left on the carrots. Peel the beetroots and set a side They will stain your hands. To avoid this you can wash your hands with soap and warm water immediately afterwards or use marigold kitchen gloves. After giving the cabbage a quick wash, carefully peel away the outer leaves, then cut the cabbage in half or quarters and remove the core.
Next start to finely slice the cabbage. You can also use a food processor with a shredding disk. The layered structure of the cabbage makes it easy to just use a knife though. Once shredded/sliced, place the cabbage in the bowl. Then using a grater, grate the beetroot and carrots on top. Again, if you want to avoid staining your hands, please put marigold gloves on beforehand. Last but not least, the finely chopped dill needs to be added to the bowl.
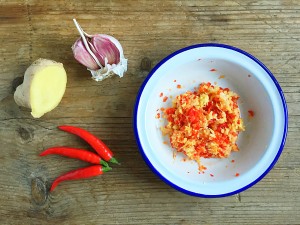
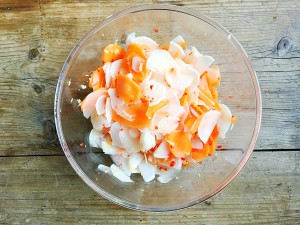
Now the real fun begins, because now it’s time add the salt and massage it into the cabbage, beet carrot and dill mix. It is very difficult to determine the exact amount of salt needed, but the rule of thumb is 2% salt. So, for 1Kg of vegetables you would use 20g of salt. That is around 2 heaped tablespoons. I usually add the 2 tablespoons and give my kraut a taste once I have massaged it for a while and I will add more if needs be. You want to achieve a slightly salty flavour. After you have added the salt, mix well and start working it into the vegetables. You will see how the vegetables start to take a nice shine from releasing the water. The salt does this via osmosis, a biological process that causes water to pass through the cell wall.
The beetroot and carrot are quite soft celled compared to the cabbage and will therefore release water much quicker, which kind of shortens the ‘massaging process’. So, this sauerkraut is a quick version of the original. You want to have a good amount of water at the bottom of our bowl, I would say 1 inch at least. When using white cabbage, the process of massaging and releasing liquid can take quite some time , but please do not give up. It can be a bit of a therapeutic process and some music may make it more fun.
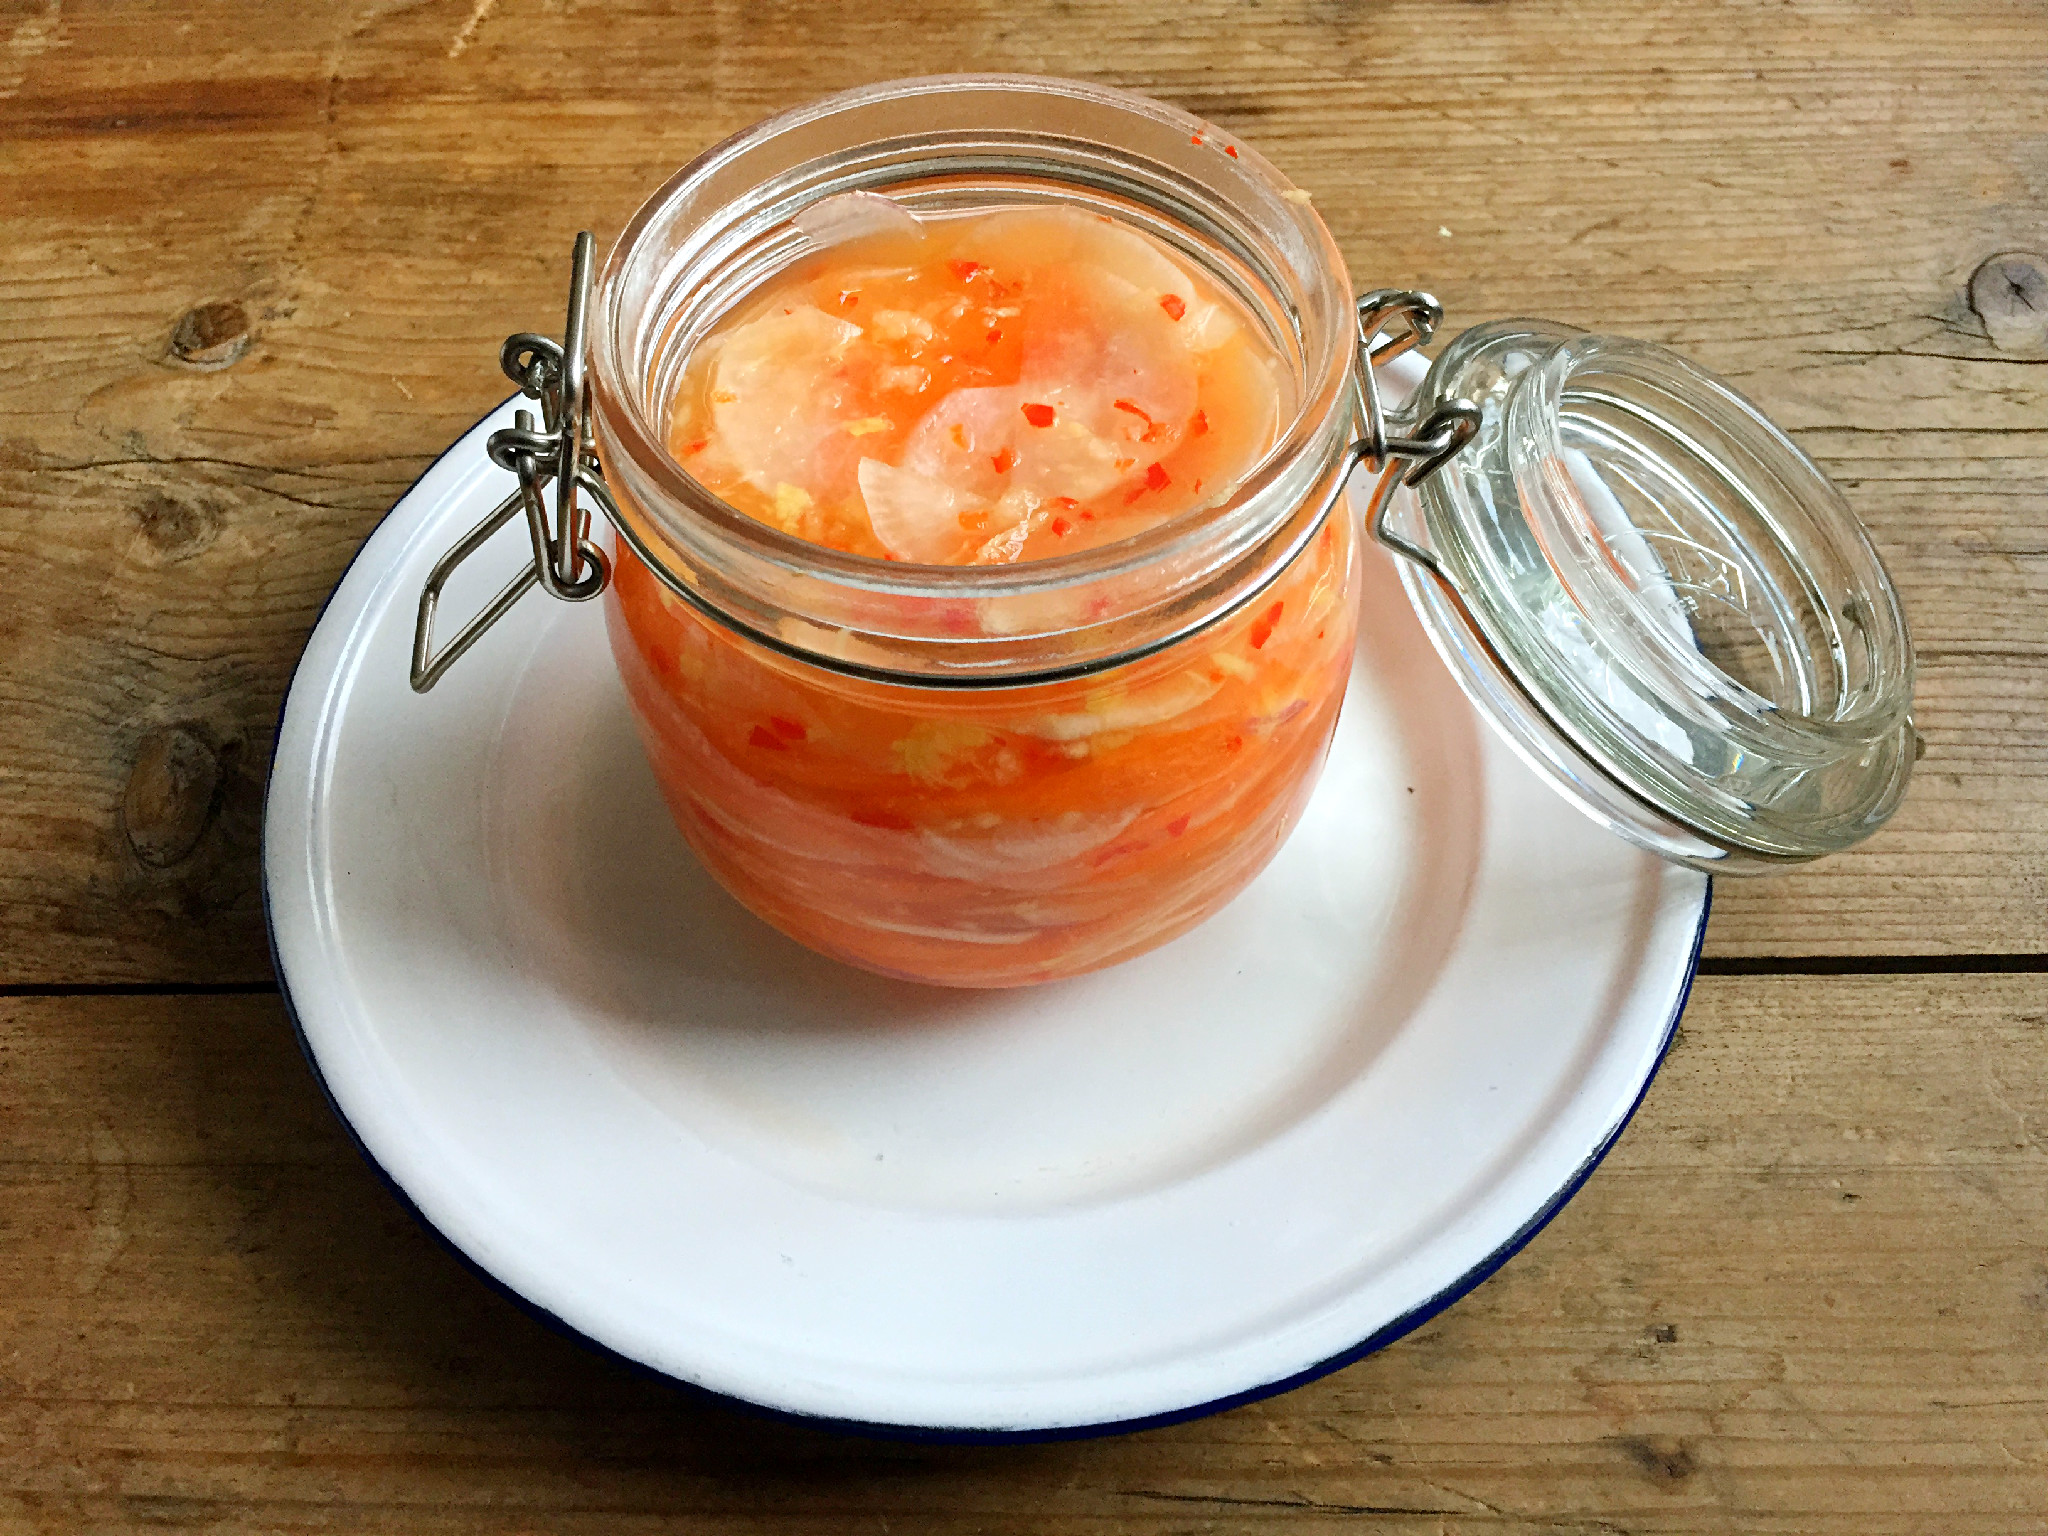
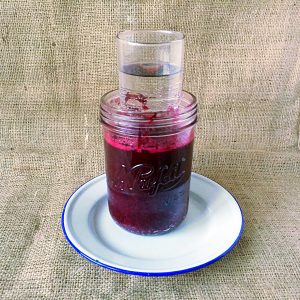
Now take one of the mason jars and start to tightly pack it with layers of the sauerkraut. Using your hands, each layer needs to be pressed down well, so that the vegetable brine starts to rise. Since lactic acid bacteria are anaerobes, which means they only grow and thrive in an environment that is not exposed to oxygen, it is important to ensure that no air bubbles are building up. Therefore, I tend to use quite a lot of force to press down each layer of Sauerkraut and turn the jar clock wise in the process.
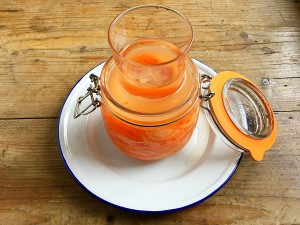
Work your way up, leaving 1-2 inches to the top of the jar. Next, place the small glass filled with water in the jar, pressing it down slightly, so the vegetable brine rises. The glass is thought to secure that the sauerkraut is always covered with the brine. This is to keep the anaerobic environment in place. Otherwise, if exposed to oxygen, the sauerkraut will start to get mouldy. If you feel not enough liquid has risen up, you can add some extra brine on top. Simply mix 250 ml of fresh water with 1 tbsp of sea salt. Keep in a bottle in case you need more later on. Place the jar on a plate as the brine may rise during the fermentation process.
Now cover with a kitchen towel and leave to ferment in a warm place. 18-21C tends to be a good temperature, but I have to say that my Sauerkraut always turned out well without checking the temperature. The kitchen or living room always worked well as a fermentation hub.
After 5-7 days the Sauerkraut should be ready, it’s best to try it and see if it has the right acidity for you. Once you are happy with the result, close the jar air tight. Don’t forget to make sure the sauerkraut is covered in brine and store in a cool place. The Sauerkraut can keep for many months. It’s best to put a date on your Sauerkraut jar, that way you know when it was made. This particularly helps once you start making more Sauerkraut with different kinds of vegetables and spices as you go along. I tend to eat my sauerkraut straight away, and therefore store it in the fridge. Once opened the Sauerkraut keeps for up to 12 weeks, just make sure the jar is closed air tight.
Have fun making it and I hope you enjoy eating it!